Quick Start
VISUAL EDITOR: CREATING PAGES & POSTS
Step #1
You’re Just a Few Steps Away From Creating a Page or Post!
Step #1
Step #2

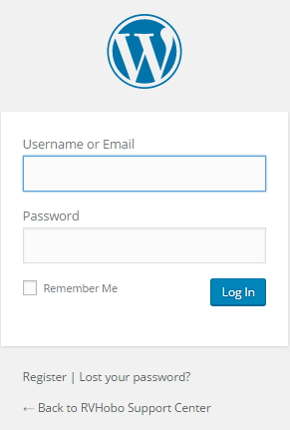
Create The Document
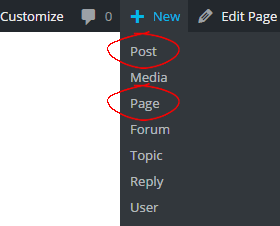
- After logging in, you should now see the black WordPress toolbar at the top of the page. Look on the center for the “+ New” menu item.
- Place your mouse over the menu item and the drop-down menu shown at the left will be displayed.
- Depending on the type of document you wish to create, select Post or Page. See image at left.
- You will be taken to the Visual Editor Page.
Step #3

Step #4 – Page or Post?
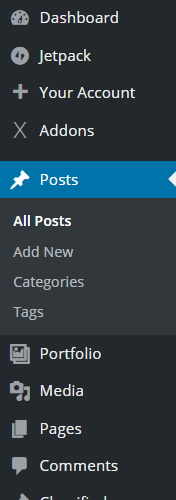
For Posts Only!
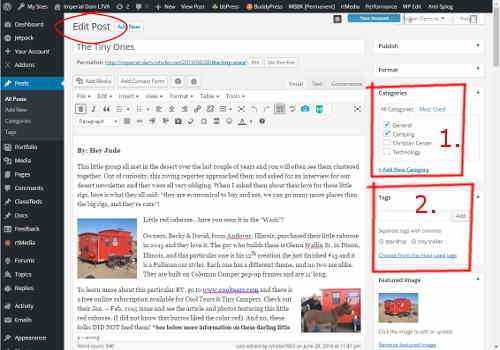
- Each Post can belong to a Category. Categories are generally used to specify your blogs major groupings.
- Posts can also have Tags. Tags are generally used for Sub-Categories.

Step #5
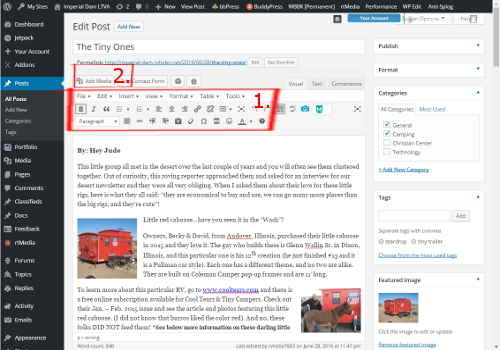
Edit Your Document
- We assume you are familiar with using a Word Processor. The RVHOBO Network provides you with a Premium Word Processor for editing your documents. The toolbar buttons should be obvious as shown at left. Additionally you can customize the toolbar..
- Inserting Media is a snap. Just click the “Add Media” Button located at the top-left of the toolbar as shown at left.
Step #6
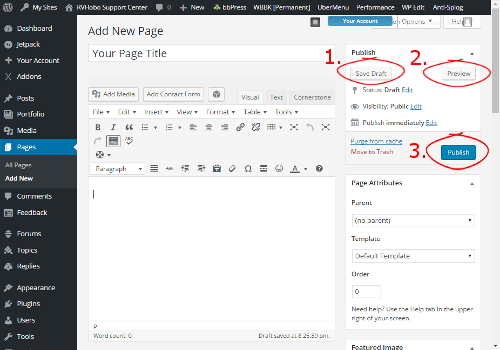
Publish, Save or View?
- Save Draft lets you save your work without Publishing it so that it is not available for general viewing.
- Preview lets you view your document before you publish it for general viewing.
- Publish saves and Publishes your document, making it available for general viewing.
Whats Next?